Perfecting your deadlift setup is the easiest and fastest way to improve your performance and results. By following these 10 simple cues, you will be able to master and increase your deadlift in seconds.
Why the Deadlift is Important
“What’s a deadlift?” is a question with a simple answer: you lift a dead (stationary) weight off the ground. Although simple, a 2019 study found that the deadlift, alongside the back squat, elicited the largest neuromuscular and endocrine responses [1], which means it’s highly effective for building strength, once you know how to perform deadlift properly.
In the realm of powerlifting, the deadlift is often the biggest contributor to total weight lifted. This was observed in the 2016 USAPL Raw Nationals, where the deadlift accounted for the greatest percentage of total weight lifted, at 40% for men and 43% for women [2].
Although this important exercise is very simple in principle, its technique is very, very specific. In fact, making sure that you’re performing the deadlift correctly is an important factor in achieving the gains you’ll get from it (especially building the lower back strength), and preventing serious injury.
Correct Deadlift Form
There is a proper form for deadlifts, and performance is dependent on form. Beyond injury prevention, poor form can also limit your one repetition maximum (1RM) [3]. This article details everything you need to know about the exact procedure to follow for the proper way to deadlift… to set yourself up for success.
Deadlift Starting Position (Deadlift Setup)
The starting position is the most important, and possibly most overlooked aspect of correct deadlift form. By optimizing this position alone, you will be able to increase your deadlift substantially, in a very short period of time.
Imagine how much faster a sprinter can run from a three-point stance as opposed to standing straight-legged. The same is true in all sorts of sports, and also applies to lifts. The starting position facilitates maximum strength and power output.
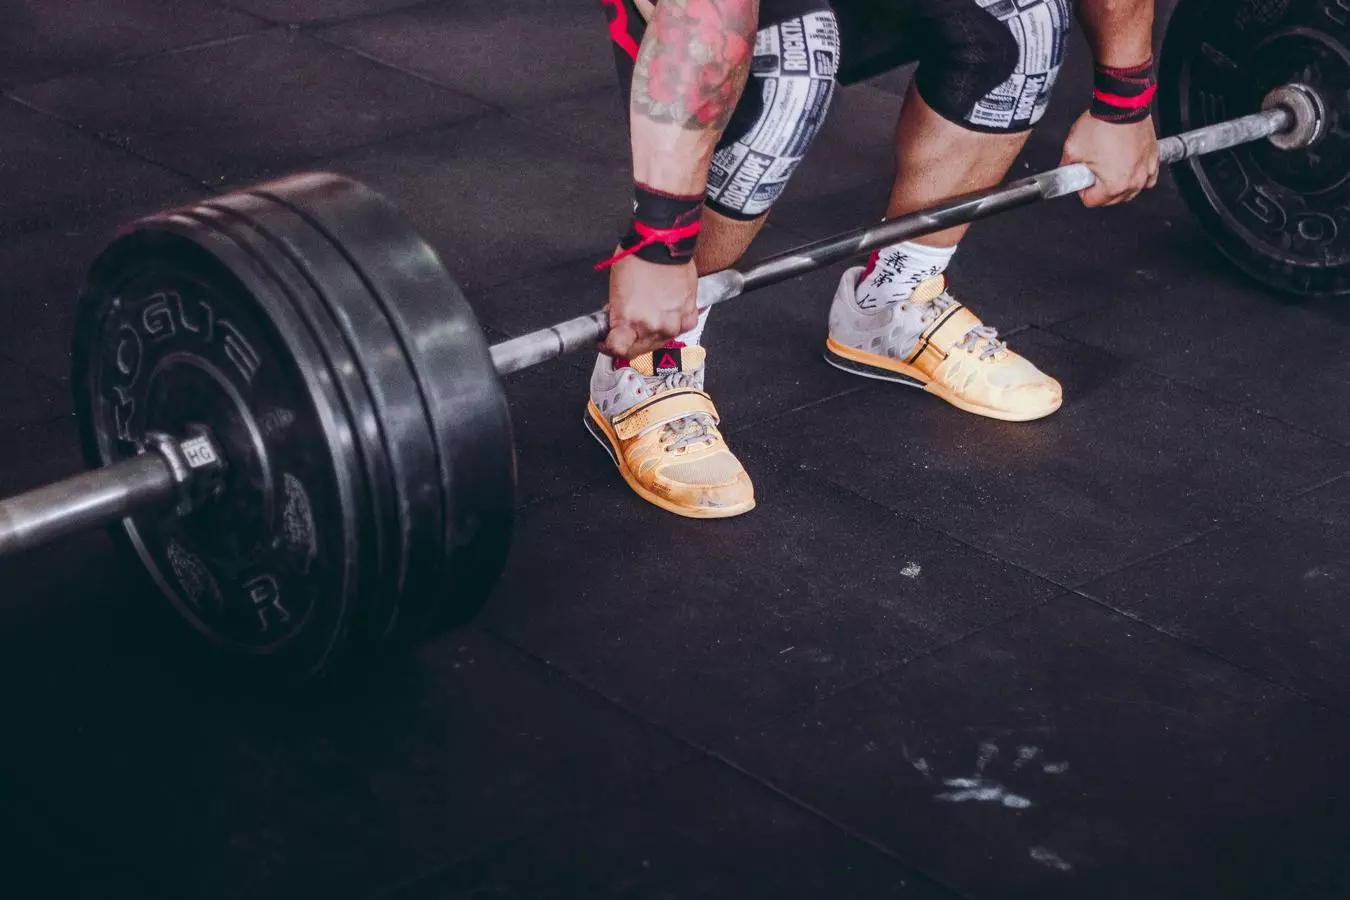
Deadlift Feet Position
In the deadlift, your feet provide the only point of contact with the ground [4]. To support maximum range of motion, they should be placed hip distance apart. In a conventional deadlift, it is important to keep them narrow so that your arms can remain outside of the thighs.
The middle of your feet (arch area) should be directly underneath the bar and remain in this position throughout the lift. During the lift, the vertical path of the bar creates a vertical plane which will be the center of gravity. It is important that the center of gravity pass through the midpoint of your feet – your anchor to the ground.
Athlean-X’s Jeff Cavaliere demonstrates what this looks like in this video, with his laces visible from the other side of the bar.
Deadlift Grip Position
The hands take a narrow, shoulder-width grip of the bar. With proper foot alignment, your arms should be just outside of your thighs when fully extended. It is important that your grip is wide enough to remain outside the thighs for the duration of the lift.
Also, it is imperative that your arms remain straight. If necessary, you must adjust your grip accordingly. Although overhand grip is the default, a switch grip may be used if grip strength is insufficient for a given weight.
Deadlift Arm Position
The deadlift is designed to lift weight that far exceeds upper body strength. Slack in the arms prior to the lift is suboptimal and may lead to injury. Prior to the lift, your arms must be in a straight line, leaning slightly in front of the bar.
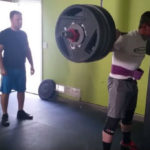
See Figure 2 with World Deadlift Gold Medalist Hendrick Famutimi for a visual demonstrating straight arms (yellow) that are slightly forward from the vertical path of the bar (green) [6].
Deadlift Shoulder Position
As seen in Figure 2, the shoulders should be just in front of the bar in the starting position. This is necessary to facilitate the optimal hip depth and to maintain a balanced center of gravity throughout the lift.
In this starting position, the vertical path of the bar should intersect the shoulder blades. The shoulders and the shoulder blades should be relaxed. The power from the deadlift is generated from the lower body; there should be no shrugging.
Low Hips
Although the hips need to be lowered to generate power, they should remain above a parallel position. Depending on the individual’s anthropometry (body dimensions), this position may vary slightly.
For example, Mark Rippetoe’s height (5’8”) influenced his strategy as an elite powerlifter and coach. He also notes that while some tall people may have an advantage with the deadlift, those with long torsos and short arms are at a disadvantage [7].
The ideal starting position places your hips between your knees and shoulders, as seen in Figure 3 with internationally-qualified powerlifter Jeff Nippard [8]. Examples of starting positions with hips too high and too low are demonstrated by Jeremy Ethier from Built With Science [9].
Hips should be above parallel (above the knees) but below the shoulders [8].
Incorrect hip placement in line with knees or with shoulders [9].
Deadlift & Engaging The Lats
For safety, one of the most important aspects of deadlifting form is to maintain a neutral spine through the back and neck. To achieve this, it is imperative to squeeze your lats to engage the core and stabilize the spine.
By squeezing the lats, it helps to naturally lift up the chest and prepare you for the lift. It is also critical for opening up the lungs, so that you can inhale prior to lifting the bar.
Hips vs Lats
It is important to note that the deadlift is a full body exercise. It does not isolate the hips, lats, or any specific muscle. Some lifters may focus solely on pulling through their lats, creating more of an upper body lift. While other lifters may prioritize driving through their hips to the neglect of the lats. Neither of these are optimal.
To maximize your deadlift, you should incorporate both the hips and lats into your movement. To do this, it is necessary to have your hips and lats in proper positions and engaged to maximize your ability to pull with your whole body.
Body Preparation
The final component of the starting position involves preparing the body for the intensity of the lift. This consists of two components.
First, a deep inhale should be taken before lifting the weight. Depending on the intensity and duration of the lift, it is critical to supply your lungs with oxygen before proceeding. While exerting energy during the lift, it is common practice to exhale, therefore for the inhale must precede the lift.
Secondly, a technique referred to as a “taking the slack out of the bar.” This means that you start pulling on the bar without actually moving the bar at all. This creates muscular tension and engages the full body, helping to prevent injuries when the pull is initiated.
Deadlift Cues (The Deadlift Proper Form)
Now that you understand the most important components of barbell deadlift form in the starting position, the key to improving your deadlift is to focus on certain cues.
The following 10 cues can be used as a framework of how to start deadlifting heavier and safer.
- Feet hip-width apart
- Midpoints of your feet under the bar
- Straight arms
- Shoulder-width grip
- Shoulders slightly in front of bar
- Hips above parallel
- Squeeze the lats
- Chest forward
- Big inhale
- Take the slack out of the bar
Next time you deadlift, focus on these cues, pay careful attention to your starting position, and watch yourself lift more weight with ease!
References
[1] Barnes, M. J., Miller, A., Reeve, D., & Stewart, R. (2019). Acute Neuromuscular and Endocrine Responses to Two Different Compound Exercises: Squat vs. Deadlift. Journal of strength and conditioning research, 33(9), 2381–2387. https://doi.org/10.1519/JSC.0000000000002140
[2] MacDonald, M. (2016, October 24). USAPL Raw Powerlifting Nationals: How do your results compare with the biggest competition in history? My Strength Book. Retrieved from https://mystrengthbook.com/blog/usapl-raw-powerlifting-nationals-how-do-your-results-compare-with-the-biggest-competition-in-history/
[3] Bengtsson, V., Berglund, L., & Aasa, U. (2018). Narrative review of injuries in powerlifting with special reference to their association to the squat, bench press and deadlift. BMJ open sport & exercise medicine, 4(1), e000382. https://doi.org/10.1136/bmjsem-2018-000382
[4] La Marche, J. (2019). Biomechanical effects of shod vs. unshod deadlift in males. Iowa State University. Retrieved from https://lib.dr.iastate.edu/cgi/viewcontent.cgi?article=8047&context=etd
[5] Athlean-X. (2017, September 2). The Official Deadlift Checklist (AVOID MISTAKES!) [Video]. YouTube. Retrieved from https://www.youtube.com/watch?v=hCDzSR6bW10
[6] Hendrick Famutimi. (2018, September 23). How To Improve Your Deadlift With Hendrick Famutimi [Video]. YouTube. Retrieved from https://www.youtube.com/watch?v=xm64apt_bzI
[7] Rippetoe, M. (2008, September 14). Thread: Height/Weight Ratio [Forum Post]. Starting Strength. Retrieved from https://startingstrength.com/resources/forum/mark-rippetoe-q-and-a/9106-height-weight-ratio.html
[8] Jeff Nippard. (2019, February 19). Build A Bigger Deadlift With Perfect Technique (Conventional Form) [Video]. YouTube. Retrieved from https://www.youtube.com/watch?v=VL5Ab0T07e4&t=476s
[9] Jeremy Ethier. (2018, September 9). How to Perform the Deadlift for Growth (5 Mistakes You’re Probably Making) [Video]. YouTube. Retrieved from https://www.youtube.com/watch?v=ytGaGIn3SjE&t=387s
About the Author